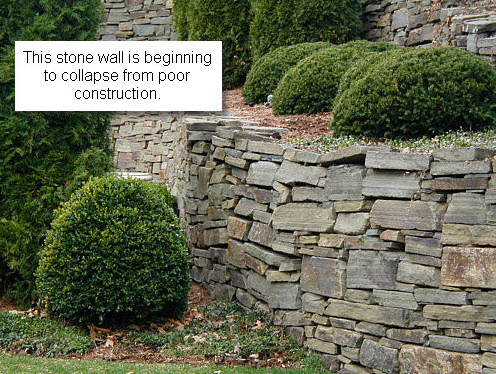
One thing you learn from doing landscape renovation projects is what works and what doesn’t. The test of time will often determine if something was built correctly or not.
And because our work is outside, never underestimate the affects of mother nature on the materials you choose and how they’re “put together”.
Sun exposure, shade, moisture, temperature, wind, soil type, drainage – these are just some of natures’ conditions that can work against your creations.
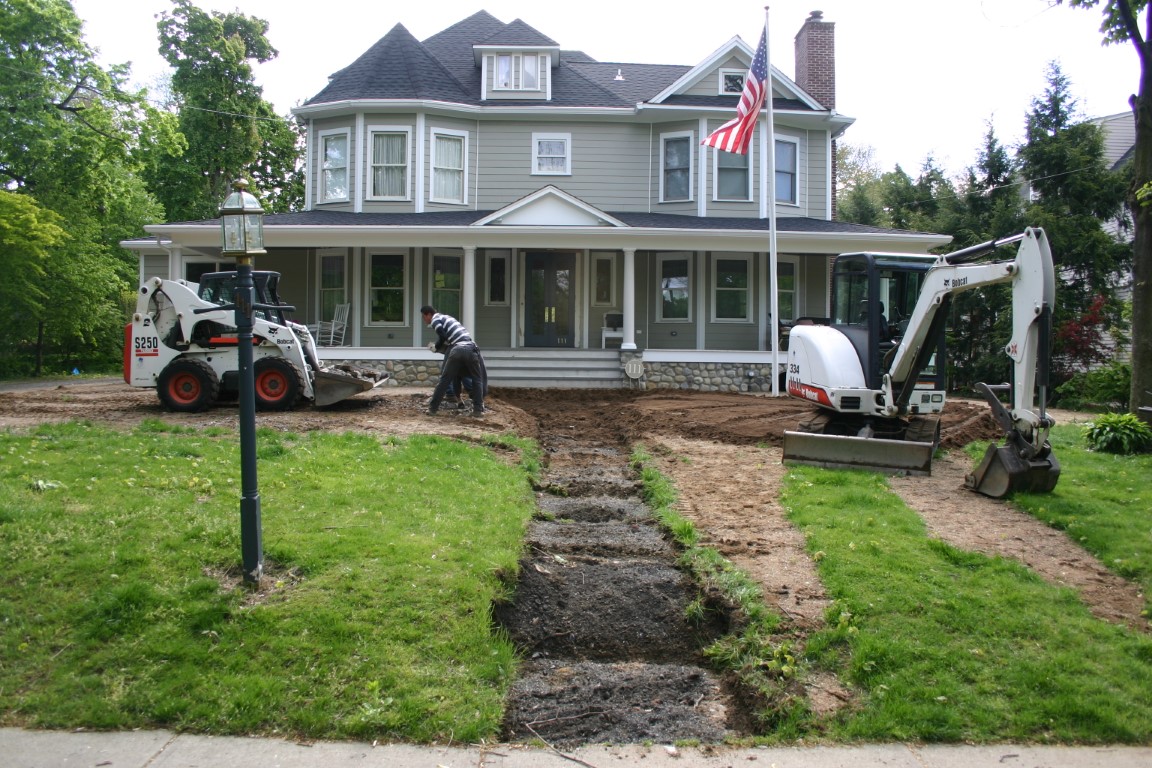
This front walkway is one of several hardscape features the family want done as part of phase 1 in this renovation.
Base Prep – Step 1 To Building It Right
I’ll bet most people have heard the advice: “Build it on a good foundation”. Truer words have never been spoken.
For a “dry-set” bluestone walkway, the base the bluestone will be set on is essentially its foundation.
A dry-set bluestone walkway relies on a thick, compacted aggregate base that drains well.
What you’re walkway doesn’t want is:
- moisture building up underneath the stone. Water can contribute to unstable conditions, and if it freezes can “heave” the surface stones out of position.
- loose or organic soil as part of the sub-base. The earth that you ultimately build your walkway’s base on should be compacted sub-soil. Top soils containing organics (such as leaf litter, roots, etc.) should never be used. Soils like that should be removed.
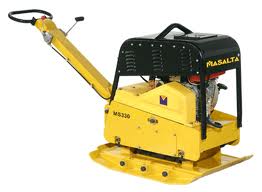
 After excavating for the bluestone walkway the sub-soil is compacted with a vibratory plate compactor. String-lines are used as a constant reference during construction.
All specifics such as walkway pitch and number of steps are worked out in the design phase.
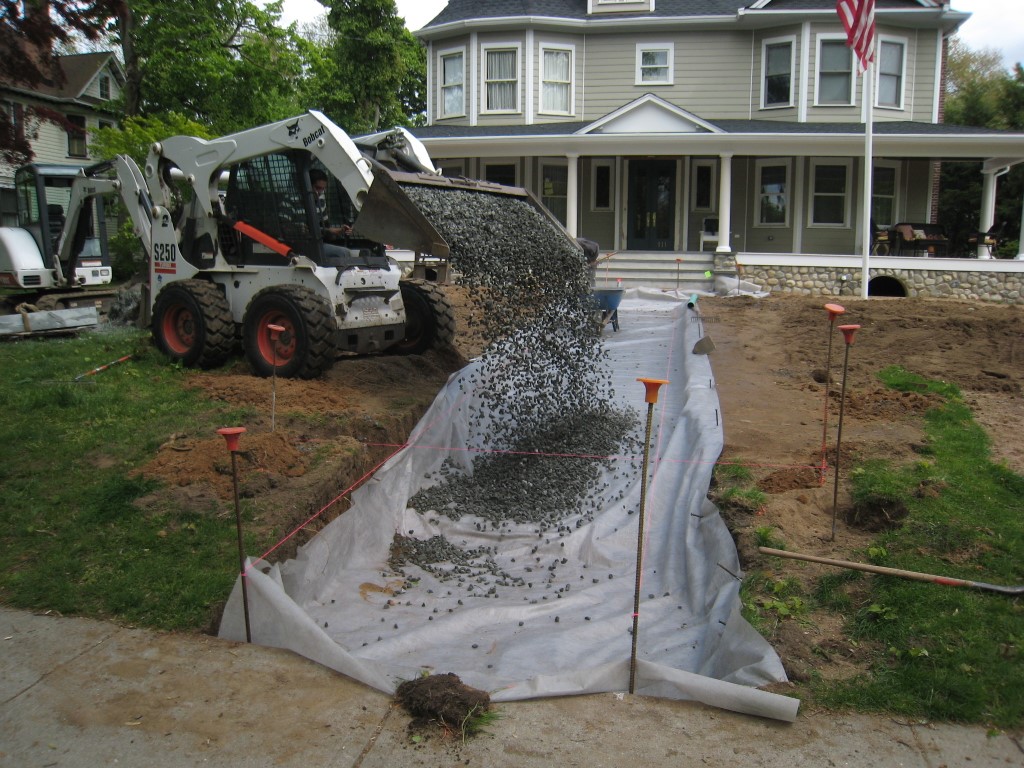
After sub-soil compaction Mirafi filter fabric is laid at the bottom and sides to keep the base material from mixing with the sub-soil. In the picture above 3/4″ clean gravel is dumped onto the fabric to start the bluestone walkway base.
Do not add more than 6″ of base gravel at a time without compacting.
To set the actual bluestone a smaller diameter gravel is layered on top of the coarser gravel. This smaller gravel also drains well and is easier to adjust when setting each stone.
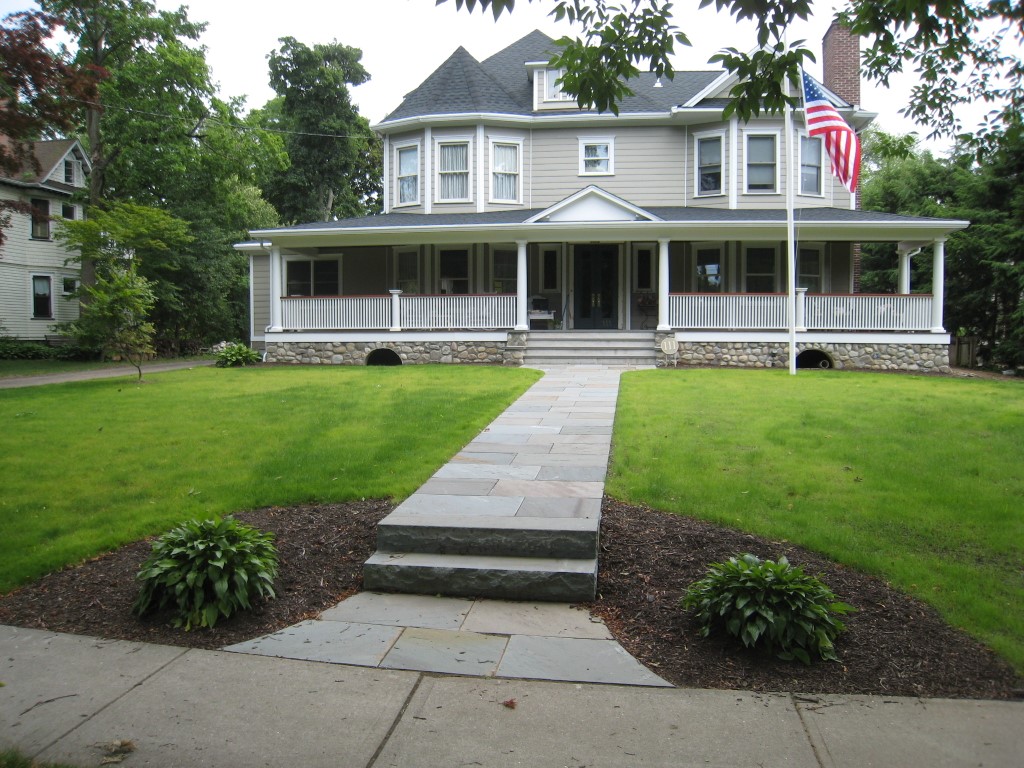
The bluestone walkway is 5′ wide to comfortably handle two people walking side by side. I would suggest not going under 4′ wide for a “primary” walkway.
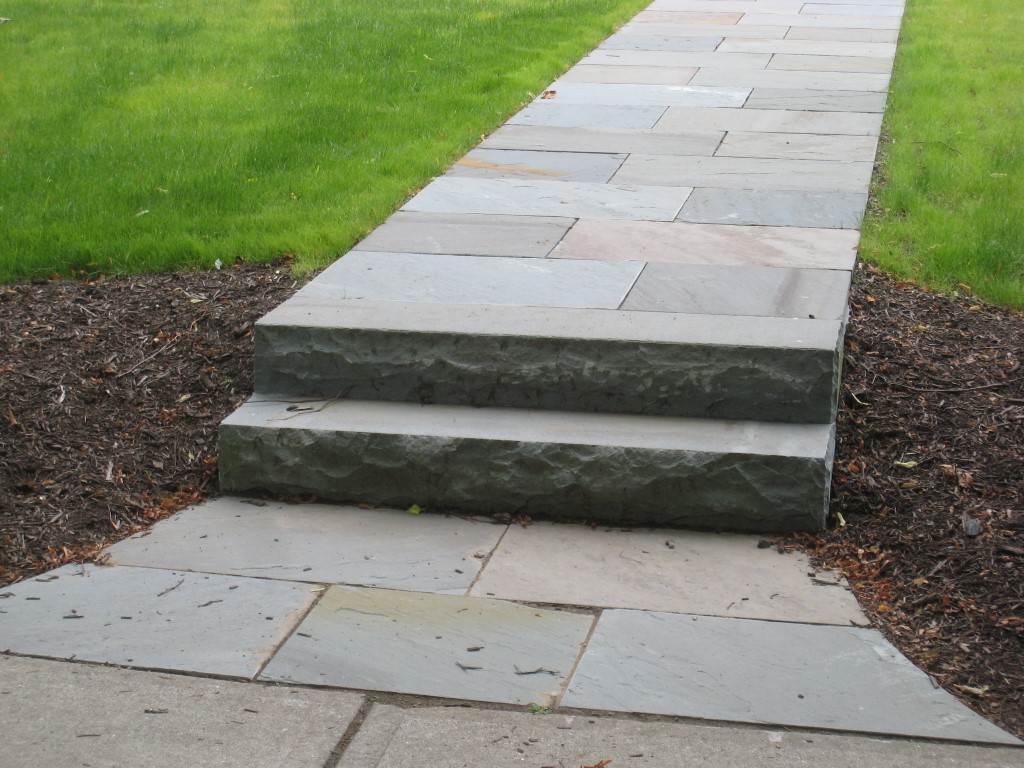
The 2 steps are each solid bluestone with consistent 6″ risers. The sides were “hand-tooled” to get the natural rock-faced look.
Natural Stone – A Good Choice
The final choice for the walkway’s surface should combine considerations for:
- Style and look.
- Function and durability.
- Cost to value.
This is a decision you’ll live with for some time. Also, it could be a factor when and if you sell the house. In terms of style, choose a material that’s classic and timeless.
Thinking again about the affects of nature over the long haul, is this material able to stand the test of time? Will the color change or fade? Will the actual material break down and fragment? Is it slippery when wet? Easy to shovel snow off?
In terms of cost to value it’s important to identify those features that are important to you and get proposals that will give those results. You can then make the decision as to whether this cost is justified for your circumstance.
Natural stone always makes a good choice. Certainly there are some bad choices among the natural stones too, but generally they offer timeless style, durability and good value.
yogi
what height for 3/4 inch gravel
what height for smaller to be layered on top of 3/4 inch gravel
also for steps, natural stone ? what kind ? approx cost ??
how about using pressure treated wood 6 x 6 inch
can you be more precise more about steps that i see in your article
for a home owner
where to get the compactor ?
best wishes
yogi
Roger
The depth of the 3/4″ base stone is typically 4 – 6″, but that can vary based on your geographic/temperature zone, soil type, grading/drainage situation, etc.
The top layer of finer gravel (i.e. “setting bed”) is typically 1″. But that can vary too. For example, if the flagstone you’re setting is inconsistent and/or irregular in thickness you’ll likely want more depth to the setting bed. This will give you more ability to adjust to the flagstone’s irregularities .
The steps are natural stone…solid bluestone. Cost varies, and I suggest you check with your “local” suppliers. Usually there are standard sizes that are more reasonably priced compared to custom sizes. Therefore, find out what those standard available sizes are and try to design your steps using them. I should also mention that other types of stone come in a solid slab-step form. Again, check w/ your local stone supplier.
I’m assuming you’d like to rent a compactor. There should be an equipment rental shop near you that has them. They’re fairly heavy so you’ll need to plan how you’re going to pick-up and return the compactor. Perhaps they’ll deliver it to you.