In the last post for this project we saw the sonotube footings beneath the four corners of the concrete slab.
When the decorative stone & brickwork is complete, each footing will secure and support a pavilion column.
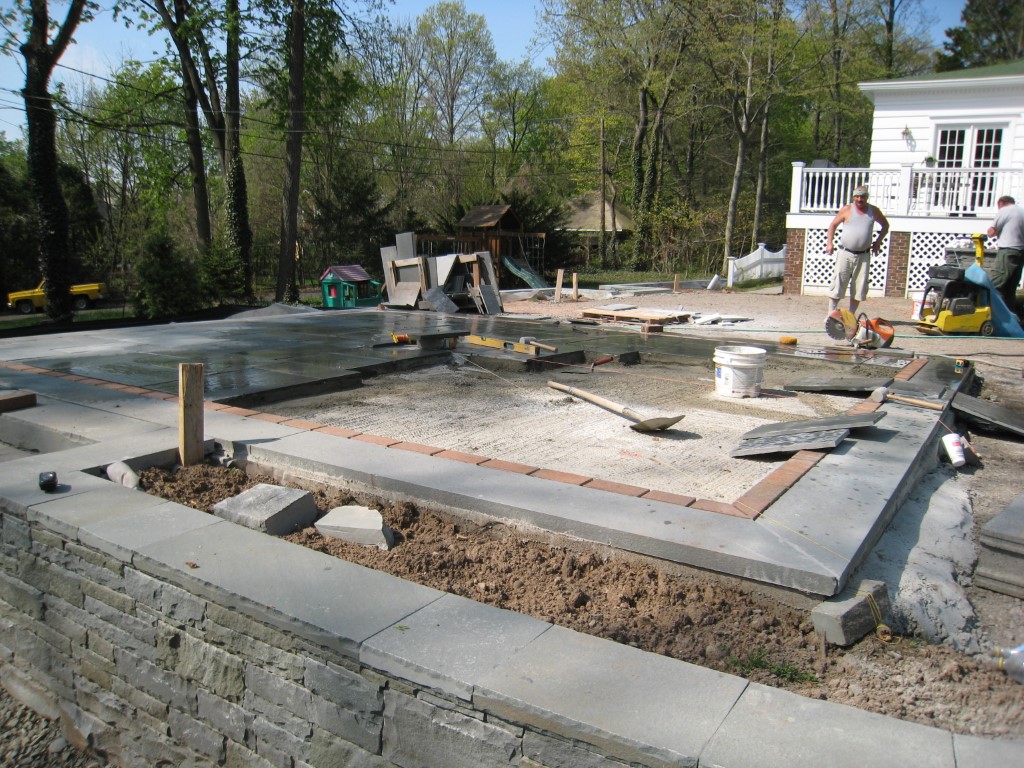
Within the 12″ wide bluestone border is a row of brick to visually tie-in the surrounding brick patio. The remaining interior area (beneath the pavilion) is finished with “pattern” bluestone.
The 2 X 4 you see sticking up next to the the stairway (top pic) marks where a 4″ PVC sleeve is located (photo above).
It should be routine that sleeves are installed wherever hardscape construction causes a barrier from getting future wires and utilities from one side to the next.
Make sure you indicate on the landscape plan where these sleeves are located. I guarantee sometime in the future you’ll need to find them.
Another little trick is to grind a small mark in the stone where the sleeve is – a mark that will be there forever.
With the patio areas complete it was time for the pavilion construction to begin. Dalton Pavilions, located in PA, sent a crew along with the pavilion components.
Their first task was to locate and square the 4 corners of the pavilion. These 4 points should be directly over the sonotube footings.
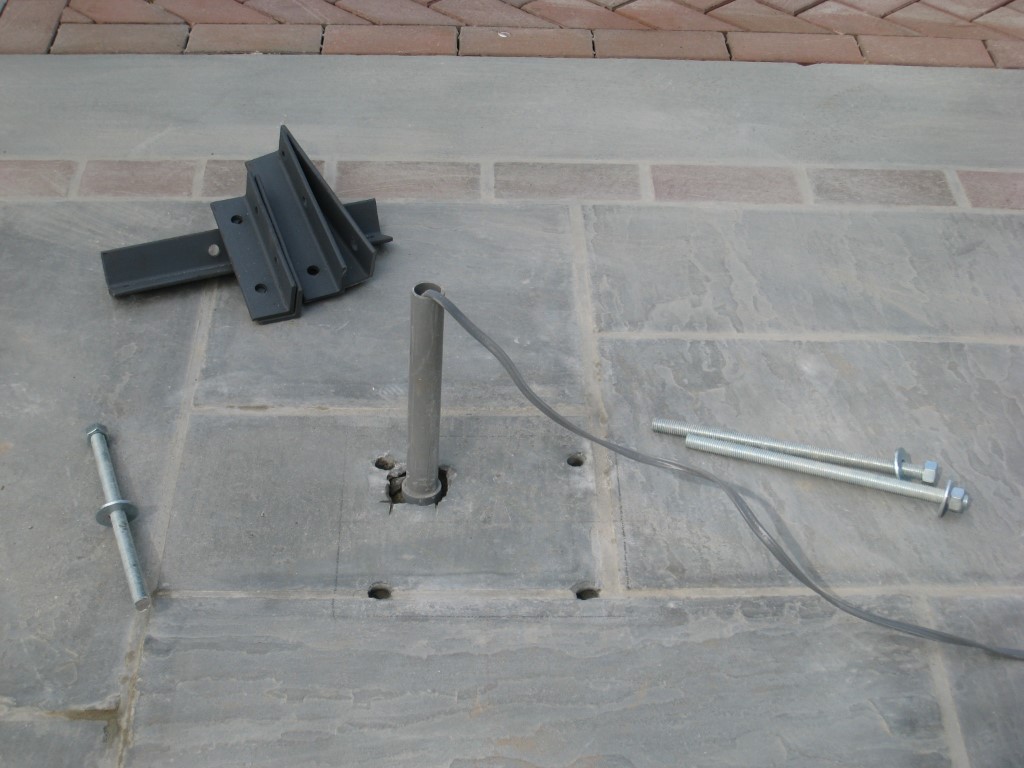
In the pic above you’ll see the electrical conduit and wire to power the paddle fan and light for the pavilion.
This feature was planned from the beginning and was specified in the construction drawings. The mason had to locate the conduit precisely in the footing to accommodate a predrilled hole in the steel column.
These 5 X 5″ square steel columns are integral to the pergola’s strength. They are responsible for supporting the balance of the structure above them, and to secure the entire structure to the ground.
For each steel column four holes were drilled through the patio and into the sonotube footings. Threaded steel rods could then be anchored into the holes using Hilti Epoxy.
In a short time the epoxy is hardened enough that the steel columns are set and bolted down securely.
The true strength of the pavilion is now beautifully concealed with the decorative white columns.
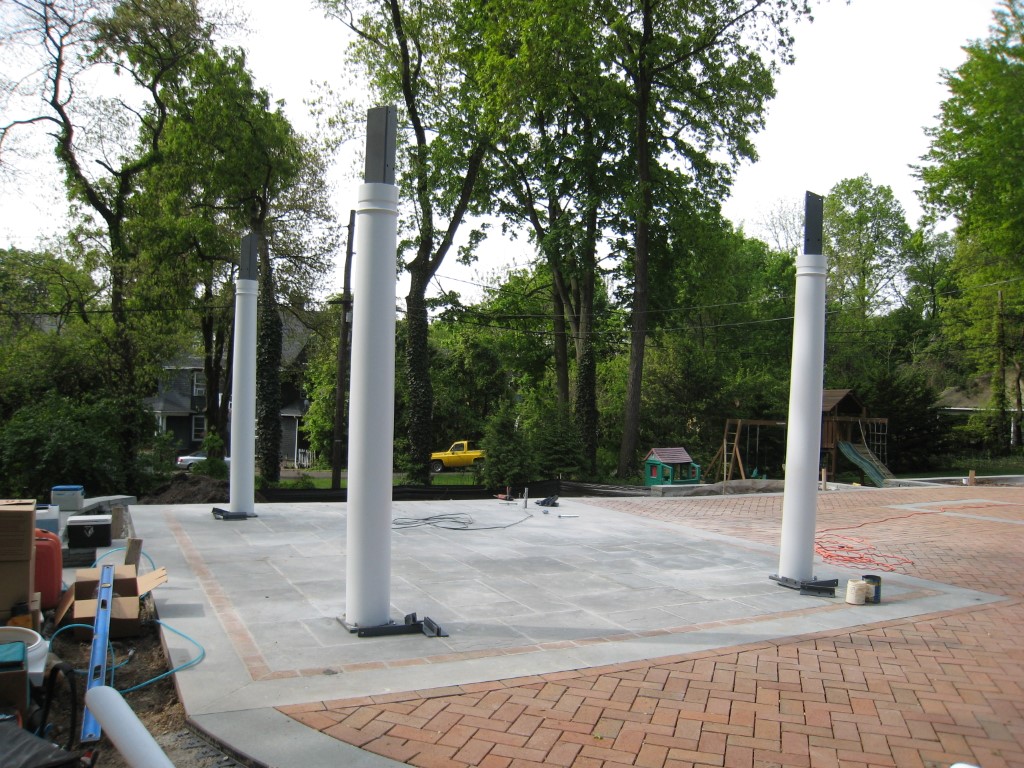
In the next project post we’ll see the pavilion come together as a key focal point and shelter in this landscape.
Here’s the previous post for this project.